
This tutorial describes how to create, view and print Inventory Reports for your listings in CTI Navigator Web II.
Click on any topic below to go directly to the information on that topic in this tutorial.
Touchscreen Note. Where instructions are to select or click, touchscreen device users would press or tap as appropriate for your device.
The Expiration Report allows you to monitor which of your listings and/or rental properties are about to expire. To produce an Expiration Report, click on "Reports" in Navigator's main menu-bar and select Expiration Report. This will display a screen similar to the following where you can specify the criteria for your report.
The Expiration Report is forward looking and does not display listings or rentals that have already expired. To search for any MLS listings or rentals that have already expired, use the Inventory Report; or use the Search Listings function and set the Status to Expired. Specify a date or date range using either Expiration Date or Status Date. To include both active and expired listings on the same search results, use the Off-Market Cutoff Date instead of Close Date (because Close Date applies only to already expired listings).
▲ Return to Table of Contents ▲
The Agent and Broker Expiration Report use the same criteria and report format. By default, the Expiration Report will include only properties for the agent identity currently signed into CTI Navigator. If you do not have management access, you will not see an option to change the Agents or Offices to be included in your Expiration Report.
If you are authorized for management level access for your office, then you will see an "Agent" selection menu at the top of the Expiration Report screen. You can run an Expiration Report for your entire office by selecting "All Agents" in the list (which is selected by default); or you can limit the report to only properties for a specific agent in the office by clicking in the Agents box and selecting their name in the list of your office agents.
If you belong to a multi-branch company and you are authorized for management level access, then you will see an "Office" and an "Agent" selection menu (see image above). You can run the report for your entire company (all Listings and/or Rentals at all your company offices on a single report), or limit the report to only properties for a specific branch office, or you can limit the report to only properties for a specific agent in the company.
Begin defining the expiration report by indicating the time period (from today forward) in which the listings will expire. Either enter the number of Days from today in the box beside Days (today = zero, tomorrow = 1); or check the box beside Date Range and then click in and enter a range of dates in the two boxes below Date Range. You can type the dates in MM/DD/YEAR format, or use the calendar icon to select dates. Checking Date Range overrides the Number of Days setting.
Both Listings and Rentals are checked by default. Un-check either one to include only the checked category in your Expiration Report.
The default setting for Listings is checked for "ALL" Form Types. To
limit the Expiration Report for Listings to only one form type,
click in the Form Type selection box, scroll
down the list of types, and click on the desired type (such as
Residential). To include several form types,
hold down the Control in Windows, the Command![]() key on a Mac, or use the equivalent gesture on a touchscreen, and click on the
desired items in the menu of form types.
key on a Mac, or use the equivalent gesture on a touchscreen, and click on the
desired items in the menu of form types.
▲ Return to Table of Contents ▲
Click the "View Table" button below Listings or below Rentals to open a one line summary Table (not a report format) that displays each property that matches your selection criteria in that category. You can sort, print, email or export the properties on this table.
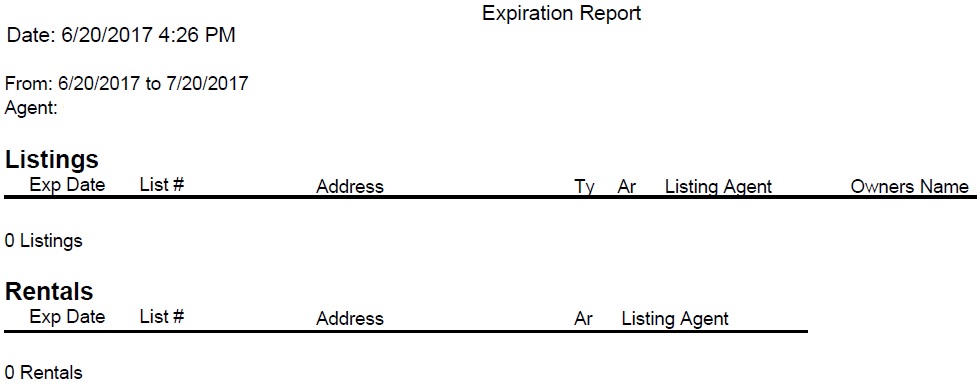
The Expiration Report will display a one line summary for each of your Listings and/or Rentals scheduled to expire in the time period you specified. The properties within each category (Listings and Rentals) will be sorted by expiration date, starting with the earliest date specified. The report format is standardized and cannot be modified. (Use the "View Table" button to create and print a customized report layout.)
When you are finished entering selection criteria, click on one of the Report display buttons (Print, Preview, and PDF) to see the results.
Click the Print button to display your Expiration Report in a new tab in your browser and automatically open the print dialog box for your device.
Click the Preview button to display your Expiration Report in a new tab in your browser. If desired, you can use your browser's controls to manipulate the report (such as print, save, or share).
Click the PDF button to create your Expiration Agent Report in PDF format. Depending on your browser and the device it is running in, the PDF report will automatically either display your Expiration Report in a new tab in your browser using the browser's PDF Viewer (such as Adobe Acrobat Reader); or be downloaded as a PDF file. If desired, you can use your PDF Viewer to print, save or email your report.
Adobe Email Note.
Click on the Adobe icon in Adobe's floating toolbar (usually at the bottom of
the page)
![]() or simultaneously press the Control+H keys on your device's keyboard to
open Adobe Acrobat Reader's full toolbar
or simultaneously press the Control+H keys on your device's keyboard to
open Adobe Acrobat Reader's full toolbar
![]() if it is not already visible when viewing your report. Click on the envelope
icon in the full toolbar to email your report (either as a link or as an
attachment).
if it is not already visible when viewing your report. Click on the envelope
icon in the full toolbar to email your report (either as a link or as an
attachment).
▲ Return to Table of Contents ▲
To return to the Index of Tutorials for CTI Navigator Web II, click here.
[Expiration_Report.aspx||rev.10.10.2017]